Photography Lighting: An LED Update
This year, US Event Photos hit the ground running. I can easily remember in past years where our first event was over Valentines Day; this year, I’m in my 6th city in four weeks, with other events completed in Las Vegas and Washington, DC by mom and Melanie. That means we’ve done 8 cities this month, and more than 15 events in 28 days. Remember, some events (almost all) go for at least two days. No wonder I’m cranky.
The beginning of the year is my time to plan equipment for the next year, to update computers, to look at process. This year is no exception, and my focus has been on lighting.
Specifically, lighting that is more portable, weighs less, is more flattering, perhaps battery operated, with more margin for error.
Let’s go back. For those of you who are older than 25, you remember when photography lighting fell into two categories: strobe (basically a big flash), or continuous (usually a hot Fresnel). Video had a few other options, but let’s not go there. No matter which you picked, they required light modifiers to shape and soften the light — perhaps an umbrella or a soft box. Maybe a “gobo”, or “go between”, which blocked part of the light from directly hitting your subject. Soften, soften, soften. That was the mantra.
I bounced back and forth between continuous lighting and strobe. The advantages of strobe were appealing: they weighed less, drew less power, and produced less heat. The disadvantage? Many, many test shots to get the lights pointed just right. Pesky shadows. Never lighting that was quite even. The advantages of continuous hot lights? You turn them on, put up your modifier, and point. You could see where the light hit the subject as easily as when photographing with natural light. But, they were hot, drew lots of power, heavy to lug, and a funky color balance.
Now to the present. Just a couple of years ago NOBODY was using LEDs. Now, they are the standard. When I started toying with switching to LEDs, it was for obvious reasons: First, they are super low weight. Second, no gobo needed. Third, you can turn them up and down for intensity. Fourth, they require less space when erected. Since they are generally flat panels of lights, without an umbrella, in tight spaces you could stick them up against a wall with no worries. Further, they draw a minuscule amount of power, even running on the same batteries as common video cameras for shorter (read: 1 hour) shoots. Last, they are really durable, though LOOK (just like my ego) fragile.
So I started researching if other photographers had tried the LEDs with portraits or green screen photography. I could find NOTHING. NADA. ZILCH. Other than some old school groussers saying they would never work.
Those were the same people who always said they’d NEVER shoot “digital”. Again, if you are older than 25 you missed this fight in photography: DIGITAL vs REAL photography. Those same people insist on taking cabs over Uber, use a Blackberry, and listen to their Walkman as they read a printed newspaper and say Facebook is over rated, all while dreaming of an airline called “PanAm”.
Back to LEDs. Two years ago, I bought my first and second set — Manfrotto 1×1 panels. I opted for the (slightly) cheaper version that was daylight balanced, and not the lights where you set the color temp for the LEDs. Why? I always control my color temp on my camera, not on the lights. Often I’m in convention halls with tons of mixed lighting. It does no good to have a light you set the color temperature on if a 3,000 watt tungsten bulb is beating down on your subject’s head. Which happens more often than not.
So: 1×1 light panels performed better than I could ever have expected. No soft box. No umbrella. No light modifier of any kind. Just point and shoot. A dream come true. My work kit’s weight dropped by tens of pounds.
Now to this year, and the third generation of LEDs are out, with even more options. Manfrotto spun off their LED line to their competitor, Lite Panels. The price seems to have gone up, and they offer more complicated (sophisticated?) models, not the relatively stripped down version I like(d).
Melanie didn’t want to plop out the $2,000 for two LitePanels, so she purchased a cheaper brand from B&H, which she loves ( http://www.bhphotovideo.com/c/product/979330-REG/genaray_sp_o_500d_spectroled_outfit_500_daylight.html ).
So, I decided to buy their LED three point lighting system, the pro kit. I was a bit skeptical: the light heads are fairly small, and I just wasn’t sure I could light an entire 12′ or larger photo set with the three point system. Also, the list price still ain’t cheap, though they run half price specials every so often.
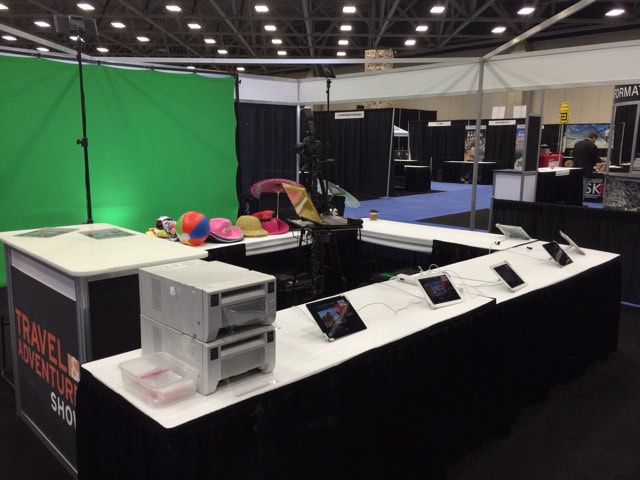 |
| 12′ Greenscreen photobooth |
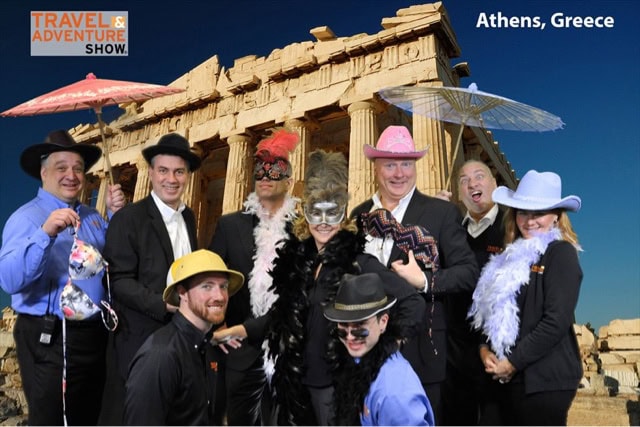 |
| Travel Adventure Show |
 |
| 16′ Game of Thrones greenscreen set |
 |
| Convention Portrait Photos |
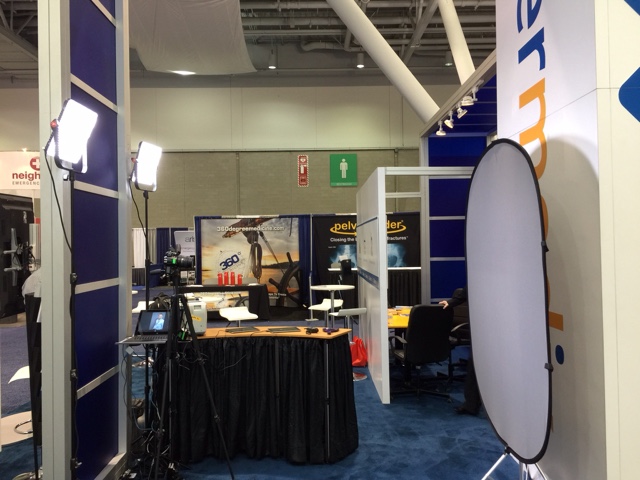 |
| Portrait Photobooth |
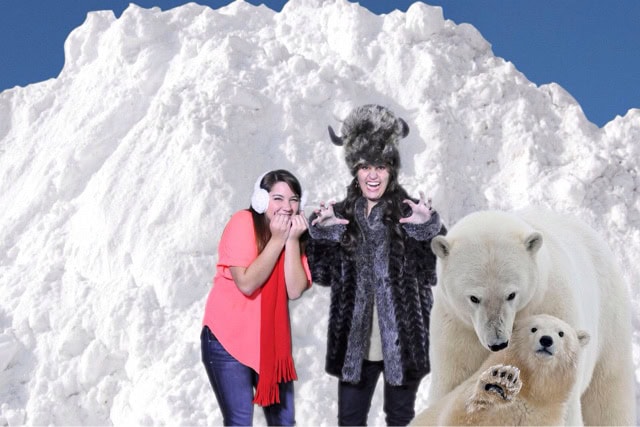 |
| 12′ Greenscreen photobooth set |
